Zoom

login to zoom button

As the college moves to using Zoom phones, many of the phone functions will be added to the client and settings that our faculty and staff are already accustomed to. You can use the same client, called Zoom Workspace to have both video meetings and use your phone. All settings remain online which you can access via the link above.

Below are some resources we’ve gathered from Zoom support and some we’ve made ourselves. If you need assistance learning how to use Zoom or it’s features, please contact the Technical Support Center (x7700) or Ed Tech (x3842).

If you have a physical phone, you will be issued the Yealink T33G so be sure to locate the correct hardware in support documents.

Before the Changeover

Before the switch to phones (you can do this right now), be sure you have the latest Zoom client downloaded on your computer.

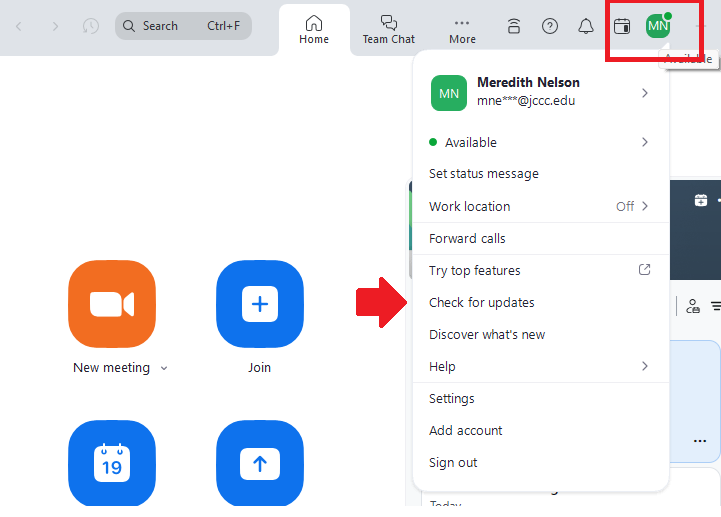
If you already have the client downloaded, check for updates here:

screenshot of client updater

If you do not have the client installed, download it here.

Click here for Mac instructions for downloading the client. 

OPTIONAL: If you wish to have the Zoom app on your phone, you can find it at your app store.


Getting Started with Zoom Phone - Day 1 Setup

Getting started with Zoom Phone should be an easy process. If you prefer a paper version of this, download it here: Zoom Getting-Started-Guide

  1. Login to Zoom here: https://jccc.zoom.us/ with your JCCC username and password.
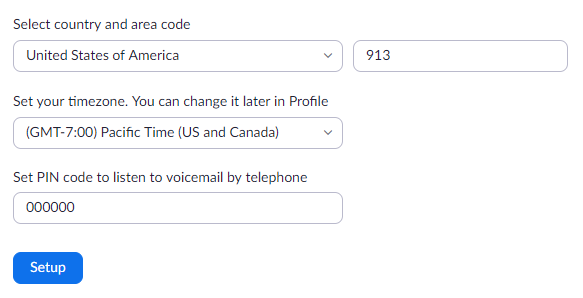
  2. If Quick Setup pops up, fill in the appropriate information for Country, Area Code, Time Zone, and set a PIN number and click Setup. If it doesn’t come up, skip to next step.
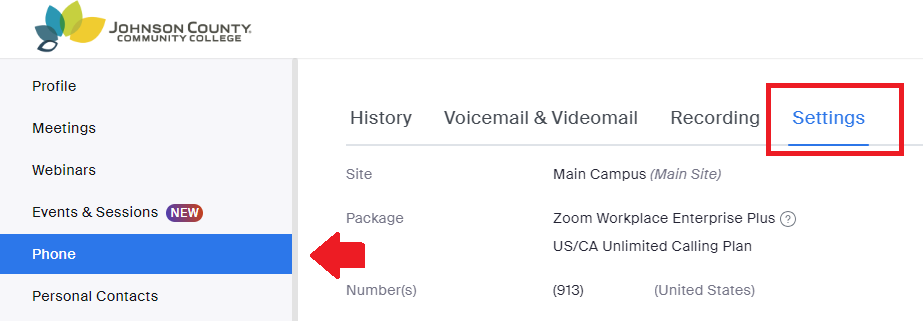
  3. After this initial setup, go to Phone > Settings.picture of zoom phone settings
  4. Verify your Emergency Location matches your exact campus location. Use this guide to update if needed.
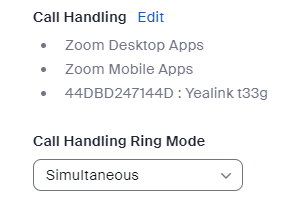
  5. Under Call Handling, setup your office hours for calls and where you want your Zoom phone to ring. In the example below, it will ring the computer, the mobile app, and the desk phone at the same time. call handling screenshot
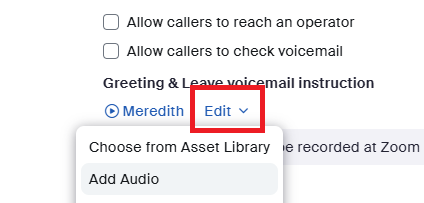
  6.  Setup your Voicemail under Greeting & Leave voicemail instruction by clicking Edit > Add Audio: screenshot voicemail edit You can choose from the following:
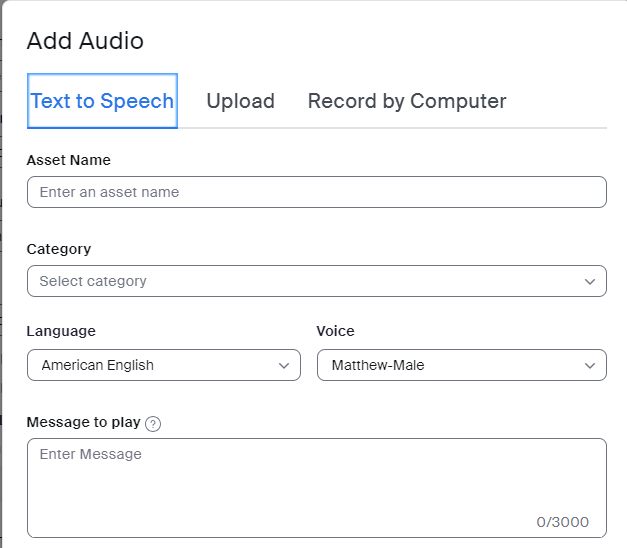
    1. Text to Speech: Let the computer do the talking for you. Just type in a message and choose a voice.
    2. Upload: Upload a previously recorded message.
    3. Record by Computer: Record your own message.picture of add audio voicemail pop up
  7. You’re all set up! Time to learn how to use it. For more quick tips, check out our Zoom Quick Tips and FAQs page.
Using Zoom Phone

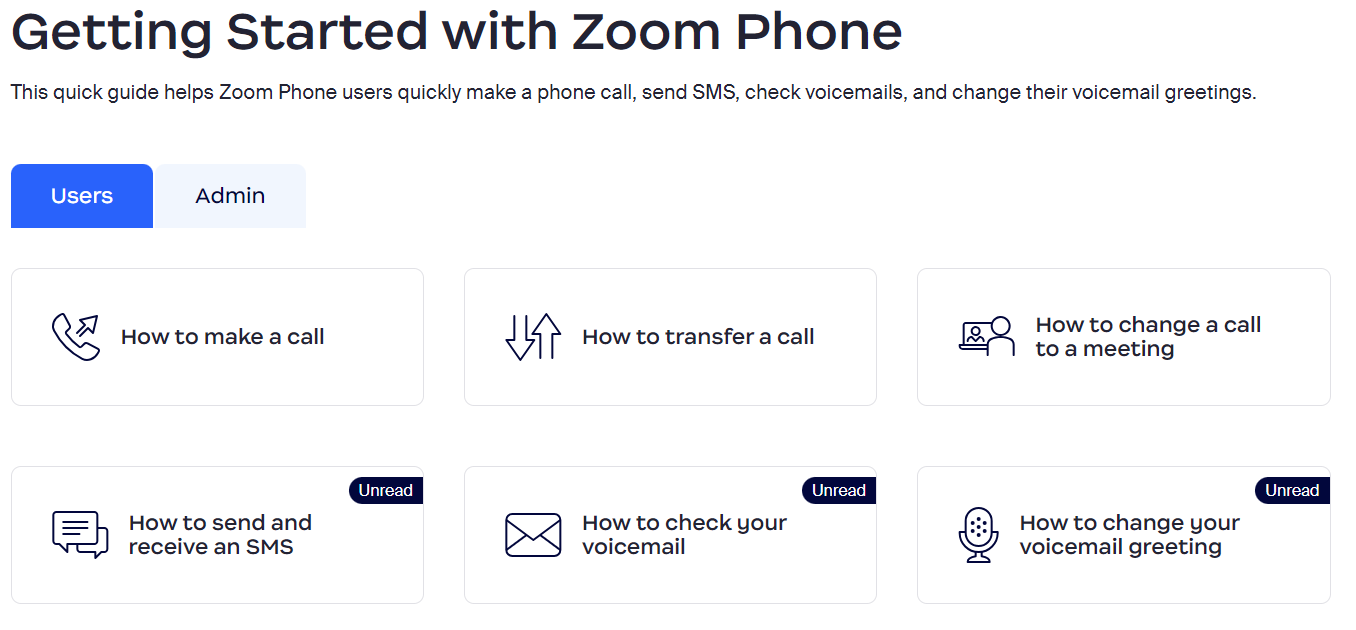
Check out some user guides and resources to get used to using your phone.

picture of zoom getting started guide


Zoom Support

Feel free to reach out to any of these support groups for assistance or questions:

Chat with Technical Support Center